Step 2 of 3

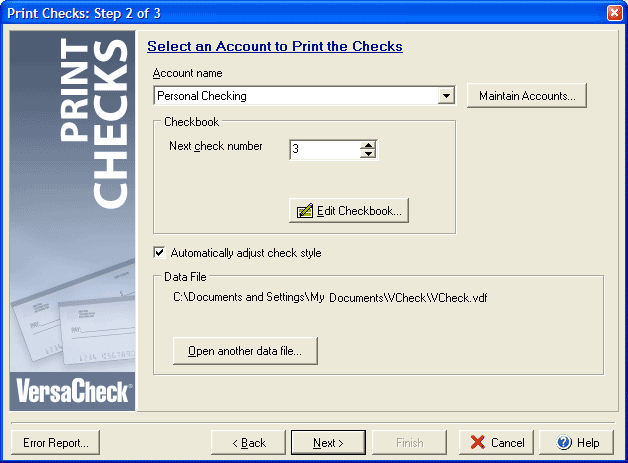
The Account name field allows you to select which account the check(s) you are printing should be drawn from; clicking the Maintain Accounts button will open the Edit Account dialog. The Next check number field should match the check number used by the financial software from which the check is printing. The Edit Checkbook button allows you to set up or edit the checkbook for the selected account. Checking the Automatically adjust the check style check box will cause VersaCheck to override the check style selected in the accounting software and use the paper/layout style selected in Step 4 of the checkbook setup. Clicking the Open another data file button will allow you to select another VersaCheck data file to use for selecting the account and check setup information. Click Next to continue on to Step 3.
IMPORTANT NOTE ON CHECK PRINTING
When printing checks from other financial software it is important to select the proper print orientation for the check paper. VersaCheck only prints checks in the standard "portrait" print layout; to ensure proper printing of checks please make certain to select the correct printer orientation in your accounting software. For example:
| For Quicken™ Users: |
 |
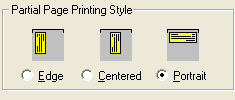
| In the Print Checks dialog select the Partial Page tab and make sure the
"Portrait" option is selected. |
| For QuickBooks™ Users: |
 |
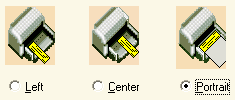
| Select File > Printer Setup > For Printing Checks and make sure
that the "Portrait" option is selected. |
| For Microsoft Money® Users: |
 |
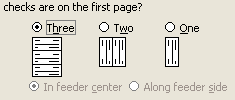
| In the Print Checks dialog, under the section for how many checks to print on the first page, you must select the option for "Three" regardless of how many checks you are printing. (The other options will not use the required, standard portrait layout for printing and your checks will not print correctly.) |