Check Image Properties
Picture Tab
Picture Tab
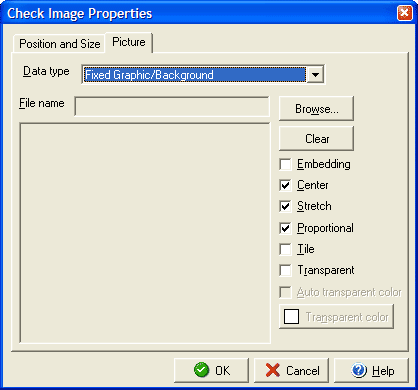
The Check Image Properties dialog allows you to edit or move an image on the check document and can be opened by double clicking on the image or by right clicking the image and selecting Object Properties from the context menu.

For adding a graphic image you can add a background, bank logo or personal logo image in the Data type field. Click the Browse button to find the image on your computer (click the Clear button to remove an image you have already added.) Once you have selected your image you can use the checkboxes to determine how the image should be handled:
- Embedding: includes the image file in the check file (prevents losing the image if the source image is moved, lost, etc.)
- Center: Centers the image in the middle of the bounding box.
- Stretch: Stretches or Shrinks the image to fit exactly within the size of the bounding box.
- Proportional: Resizes the image as necessary but maintains the height and width ratio (to prevent distorting the image. )
- Tile: Repeats the image in rows, across and down, if the bounding box is larger than the image.
- Transparent: Allows you to make one color in the image transparent so that the check background will show through instead of that color.
- Auto transparent color: Automatically selects the color to make transparent (or you can click the Transparent color image to manually select the color.)
You can also edit the Position and Size of the image on the check document.